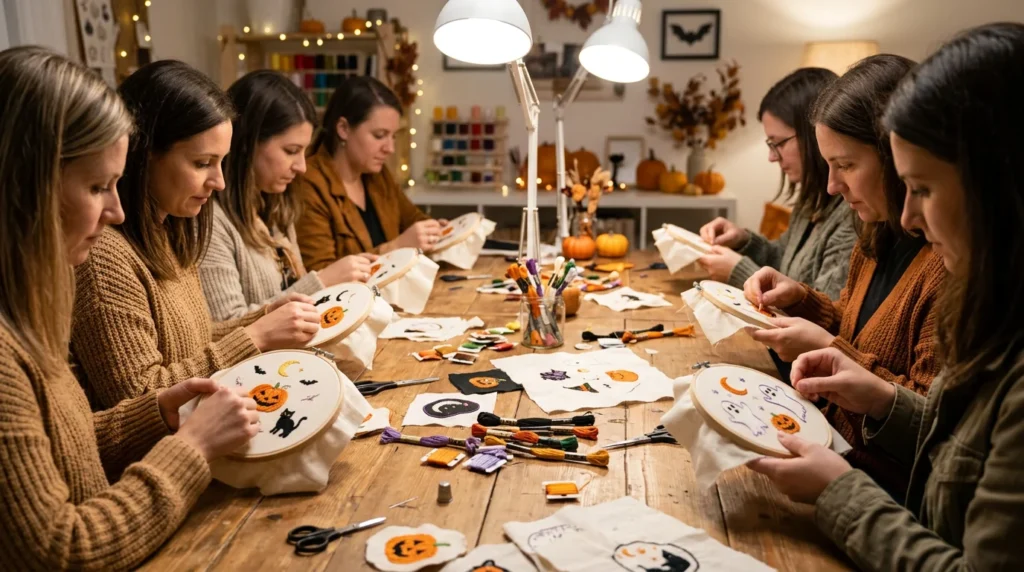
Quick answer: A Spooky Stitch Class is a themed needlepoint session that uses Halloween-style motifs to teach decorative stitches and smart thread choices. You’ll typically practice a small set of stitches on a charted area, learn how to keep tension and coverage consistent, and get tips for placing texture and sparkle where it reads clearly. It’s a practical way to expand your stitch vocabulary on a fun, low-pressure design.
What to Expect in Class
A Spooky Stitch Class is often structured like a stitch “sampler” workshop: you work a spooky-themed canvas area, then learn a handful of stitches that suit it—webs, stripes, fur, sparkly accents, or textured backgrounds. The focus is usually technique and confident stitch placement, not racing to finish.
Many classes include a quick review of setup (thread lengths, starting and ending threads cleanly, keeping tension even), then step-by-step stitch demos you can copy into your design. You’ll also often get help correcting common issues like uneven coverage, slanted tension, or stitches that drift off the intended grid. If you’re researching options, the Spooky Stitch Class page can be a starting point for checking what’s currently listed and what materials are expected.
Ask ahead what you should bring. Workshops commonly expect basic tools like small scissors, a laying tool, and a frame or stretcher bars for larger canvases; some provide materials and some don’t. Getting a clear supply list prevents spending half the session improvising with the wrong needle size or an awkward setup.
Common Stitches Taught (With Practical Uses)
Spooky designs are great for stitches that create strong texture and contrast. Basketweave is a common foundation for smooth, durable fill areas and for reducing visible “railroad tracks” on larger backgrounds. Continental is often used for small details and tight corners where basketweave is hard to place neatly.
For decorative areas, you may see named stitches like Rhodes Stitch (a raised, star-like stitch that works well for eyes, candy highlights, or a focal dot) and Nobuko (a slanted, slightly textured stitch that can suggest wood grain, cloak fabric, or a subtle background that still has movement). If metallics are involved, classes often cover how to manage twist and abrasion—shorter lengths, gentle tension, and a laying tool so the shine stays even.
Beyond the stitch itself, the real skill is learning how to “read” a stitch diagram and translate it onto canvas without losing your place. Good instruction also includes habits like counting intersections, marking repeats, and checking alignment every few rows so small errors don’t snowball into a skewed pattern.
You Will Leave With (Typical Outcomes)
You won’t always finish the project in one sitting, but many stitch classes aim for a few concrete takeaways you can reuse on future canvases. A typical set of outcomes includes:
Reading a stitch diagram and tracking repeats without losing your place; placing a background stitch cleanly around a motif (basic compensation); choosing strand count for solid coverage without bulk; pairing fibers for contrast (smooth vs. fuzzy vs. metallic) and knowing when each behaves best; fixing common problems like twisting, uneven tension, and “ladders” where canvas shows through.
How to Choose the Right Level and Prep Before You Go
Beginners usually do best when the stitched area is small and the class starts with one foundational stitch before adding decorative layers. Intermediate stitchers often get the most value from classes that include at least one stitch with direction changes or a counted repeat, plus guidance on compensation around curves or lettering.
Use a quick checklist before enrolling: What stitches are planned (and are diagrams provided)? Are materials included, and if not, what needle sizes and fibers are recommended? Do you need a frame, and will there be time to learn proper tensioning? How much homework is expected between sessions? What skill level is assumed (basketweave required, or taught)?
Bring what you can verify you’ll need: your canvas or kit, good lighting if you prefer it, small sharp scissors, a laying tool, and any fibers you’re considering so you can compare coverage and texture in person. If you want local, in-person guidance, ask Blue Willow Needlepoint what classes are currently scheduled and what support is available for your specific project.